DIY Calendar Ideas You Can Make for Any Year
When the first page of January flips, the urge to organize the months ahead often meets the desire for something that looks as good as it functions. A calendar that sits on a kitchen counter, hangs above a home office desk, or lines a hallway wall can become a quiet piece of décor rather than a sterile planner. Below are seven projects that let you blend personal style, practical scheduling, and a touch of craft into a calendar you’ll actually want to look at every day.
1. Magnetic Board Calendar
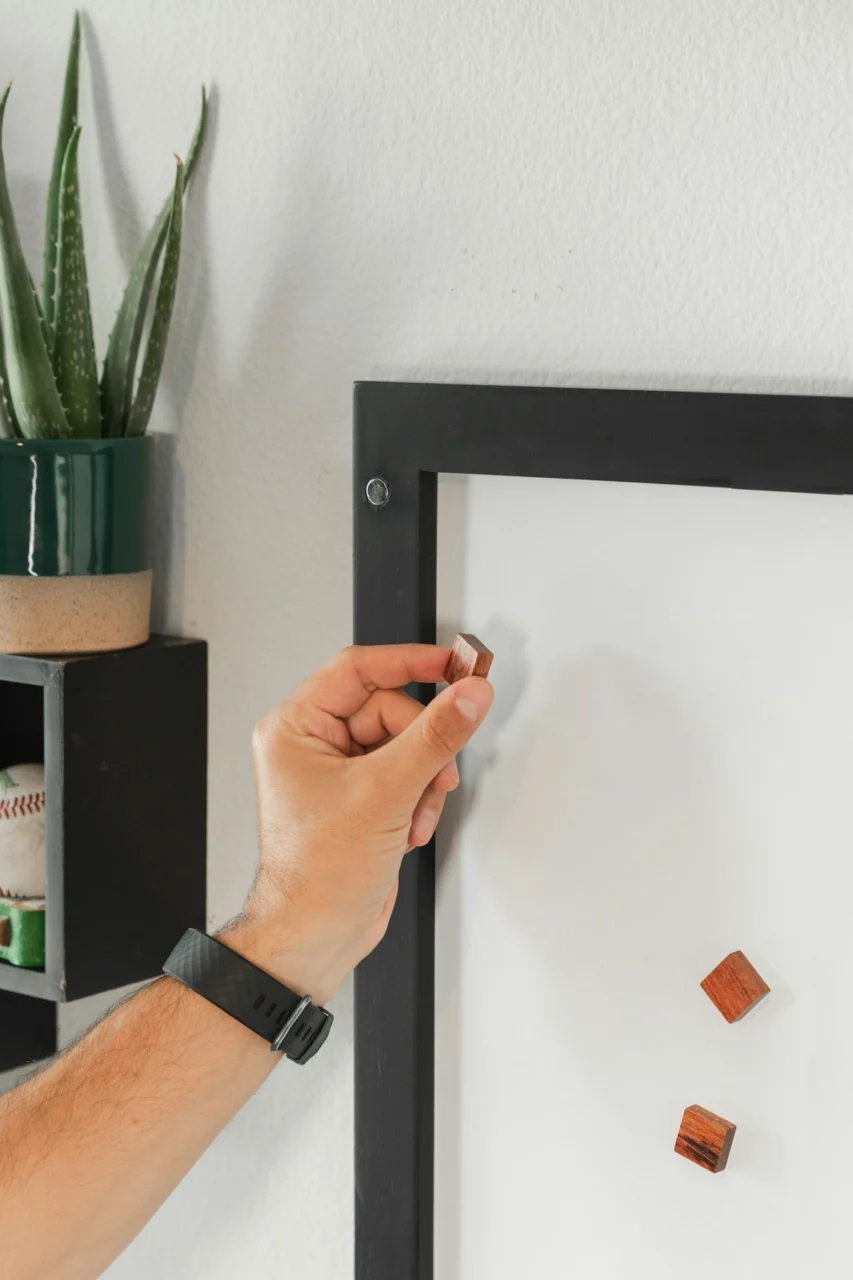
Photo by Sable Flow on Unsplash
A magnetic board offers the freedom to move dates, notes, and reminders without the clutter of paper scraps. Choose a reclaimed metal sheet or a sleek brushed‑steel panel that matches the industrial vibe of a loft kitchen. Paint the surface in a muted greige or soft charcoal, then affix a thin strip of magnetic tape along the top edge to hold a row of month names. Small magnetic numbers—either classic black vinyl or pastel acrylic—can be placed on the board in any arrangement, making it easy to swap out days as the year progresses. Because the board is flat, you can layer a thin LED strip behind it for a subtle glow that highlights the current date without overwhelming the room’s lighting. The main trade‑off is that magnetic numbers can be lost if not stored carefully, so a small decorative bowl nearby works well as a catch‑all.
2. Repurposed Vintage Postcards
If you have a stash of postcards from past travels, they can become a charming, travel‑themed calendar. Select cards that share a common palette—perhaps the warm terracotta of Mediterranean towns or the cool blues of coastal scenes—and mount each on a sturdy backing board. Arrange twelve postcards in a single column, leaving a narrow strip of space between them for a thin line of chalk paint that will serve as a writable area for each month’s highlights. The tactile feel of the postcard paper adds a layer of nostalgia, while the chalk strip invites quick notes about birthdays or appointments. This approach works best in a hallway or entryway where the cards can be admired at eye level. Keep in mind that postcards are often printed on thin paper; sealing them with a clear matte spray will protect against humidity and accidental smudges.
3. Fabric Pocket Calendar

For a soft, textile‑based option, cut a length of sturdy linen or canvas—something that drapes nicely over a wall or can be hung from a decorative hook. Divide the fabric into twelve equal pockets sewn or glued along the top edge, each pocket opening wide enough to slide in a small card. Use a contrasting thread—deep olive on natural linen, for example—to stitch the pocket seams, creating a subtle visual cue for each month. The cards inside can be printed on cardstock or hand‑written on recycled paper, giving you the chance to change the look of each month with a new color or illustration. The fabric’s natural texture absorbs sound, making it a pleasant addition to a bedroom wall where a hard‑edge calendar might feel too stark. One limitation is that the pockets can collect dust; a gentle vacuum with a brush attachment keeps them tidy.
4. Chalkboard Slate Calendar
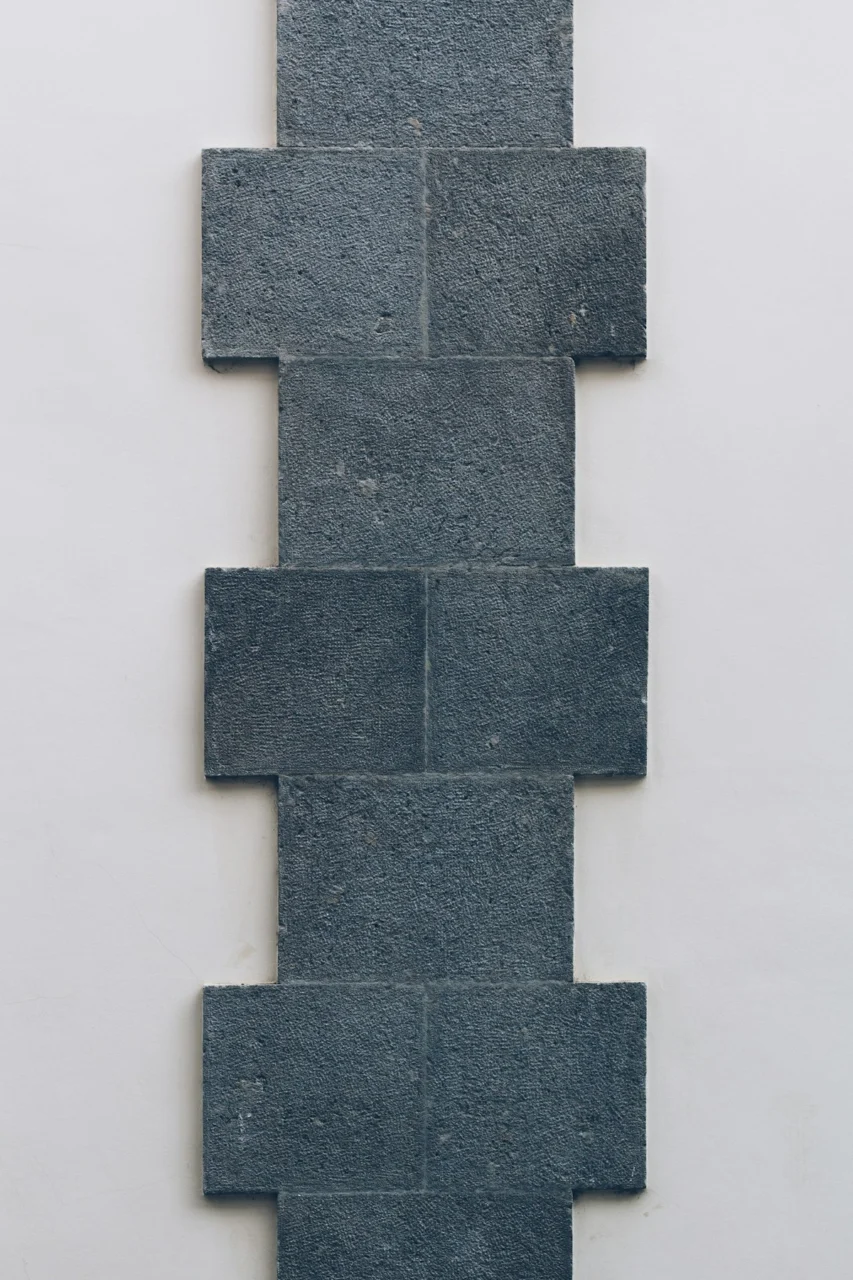
Photo by Bogomil Mihaylov on Unsplash
Slate tiles, with their dark, natural surface, make an elegant backdrop for a chalk‑drawn calendar. Choose a series of 12 tiles, each roughly the size of a small picture frame, and arrange them in a grid on a wall that receives indirect daylight. A thin line of white chalk paint along the bottom of each tile creates a dedicated space for the month’s name, while the larger tile surface can hold handwritten dates, to‑do items, or inspirational quotes. The contrast between the white chalk and the deep gray of the slate is striking without needing additional décor. Because slate is heavy, be sure to anchor the tiles to studs or use strong wall anchors. The primary drawback is that chalk can wear down quickly in high‑traffic areas; a quick seal with a spray fixative will preserve the writing for longer periods.
5. Binder Clip Wall Calendar

Photo by Tamanna Rumee on Unsplash
Binder clips are inexpensive, sturdy, and surprisingly decorative when chosen in coordinated colors. Paint a set of twelve clips in shades that echo the room’s existing palette—soft sage, muted mustard, or warm walnut—and attach them to a painted wooden board or a reclaimed pallet. Between each clip, affix a strip of cork or a thin metal bar that will hold a row of printed date cards. The clips act as both a visual anchor and a functional holder for the cards, which can be swapped out as weeks turn. This design works especially well in a home office where the board can double as a place to pin notes or receipts. The only caution is that heavy cardstock may cause the clip to lose grip over time, so opting for a lighter paper stock keeps the system reliable.
6. Hanging String of Envelopes

A row of small envelopes strung across a wall adds a three‑dimensional element that invites interaction. Choose envelopes in a cohesive set—perhaps ivory with a brushed gold lining—and attach them to a length of twine using small clothespins or decorative hooks. Label each envelope with a month’s abbreviation, then fill it with a folded sheet that lists the month’s key dates, holidays, or personal goals. The envelopes can be opened and refilled as needed, turning the calendar into a living repository for reminders. Because the envelopes are lightweight, they are suitable for a bedroom or a nursery where a heavier piece could be out of place. One consideration is that the twine may sag over time; using a thin wooden dowel as a backing can maintain tension and keep the line straight.
7. Recycled Wood Block Calendar
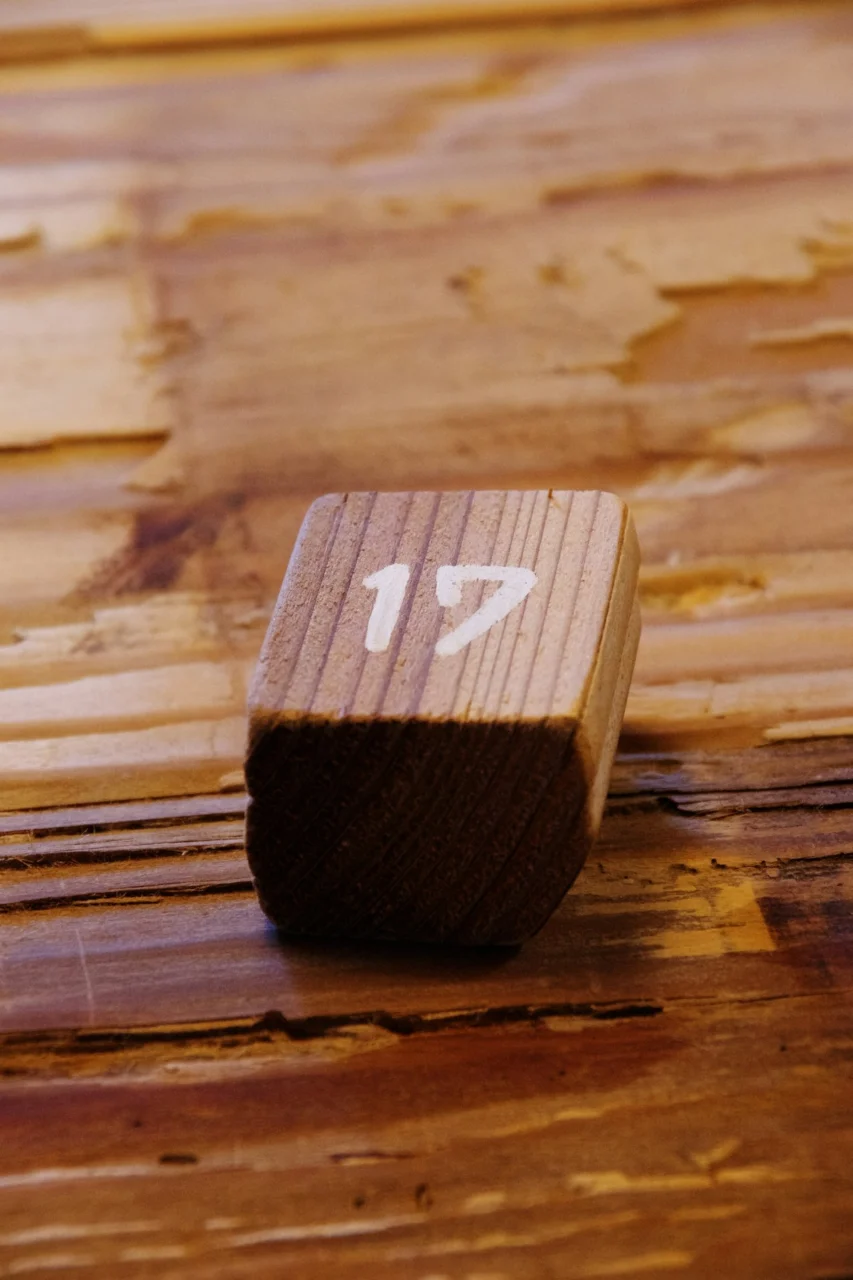
Photo by TAKAHIRO NISHIZONO on Unsplash
For a rustic, tactile option, cut twelve thin blocks from reclaimed pine or walnut—each block about the size of a small coaster. Sand the surfaces smooth, then burn or stencil the month’s name into the top face using a fine‑pointed tool. The front of each block can hold a small magnetic strip or a tiny nail where a removable paper tag with the days of the month can be attached. Arrange the blocks on a simple floating shelf made of reclaimed wood, allowing the natural grain to become part of the visual story. The blocks can be rearranged easily if you decide to change the order or replace a damaged piece. The primary limitation is that the wooden blocks will absorb moisture over time; applying a light coat of beeswax finish helps protect them while preserving the natural feel.
FAQ
Photo by Annie Spratt on Unsplash
How do I keep a DIY calendar looking tidy over the year?
Maintain tidiness by regularly wiping surfaces with a soft, dry cloth and, where appropriate, applying a protective sealant such as matte spray for paper‑based calendars or beeswax for wood. This prevents dust buildup and protects the materials from humidity.
Can I use a DIY calendar in a high‑traffic area like a hallway?
Yes, but choose durable materials—metal, slate, or sealed wood—that can withstand occasional bumps. Avoid fragile paper or chalk that may wear quickly, and consider mounting the piece securely to studs or using strong wall anchors.
What is the most budget‑friendly option among these ideas?
The binder clip wall calendar typically costs the least, as it uses inexpensive clips, a simple board, and printable cardstock. You can often find all required items at a local discount store or recycle materials you already have.
Do any of these calendars require electrical work?
Only the magnetic board calendar suggests adding an LED strip for ambient lighting; installing the strip involves basic plug‑in connections and no wiring, but follow the manufacturer’s instructions and keep cords away from water sources.
How can I make a calendar that works for both a home office and a kitchen?
Select a neutral material like brushed steel or reclaimed wood that complements both spaces, and use interchangeable elements—magnetic numbers, removable cards, or envelopes—so the calendar can be repositioned without altering its core design.
Final Thoughts
Photo by Costa Live on Unsplash
Creating a calendar from scratch is an invitation to let your personal aesthetic guide the way you organize time. Whether you favor the sleek look of a magnetic board, the nostalgic feel of vintage postcards, or the tactile comfort of fabric pockets, each project offers a chance to blend function with décor. By considering the room’s lighting, the durability of materials, and the ease of updating each month, you can craft a calendar that remains useful and attractive throughout the year. Take one of these ideas, adapt it to the textures and colors already present in your home, and let the passing weeks become a subtle, stylish part of your everyday environment.