Diy Cedar Planter Box Under 5 Ideas: Easy & Cheap Projects for Every Garden
Finding a sturdy, attractive container for herbs, succulents, or seasonal blooms doesn’t have to mean a trip to the nursery or a pricey kit. Cedar’s natural resistance to rot, pleasant scent, and warm grain make it an ideal material for a budget‑friendly planter that lasts years. Below are seven practical approaches that keep the cost under five dollars per square foot while delivering a polished look you can proudly display on a patio, balcony, or windowsill.
1. Choose the Right Cedar and Gather Minimal Tools
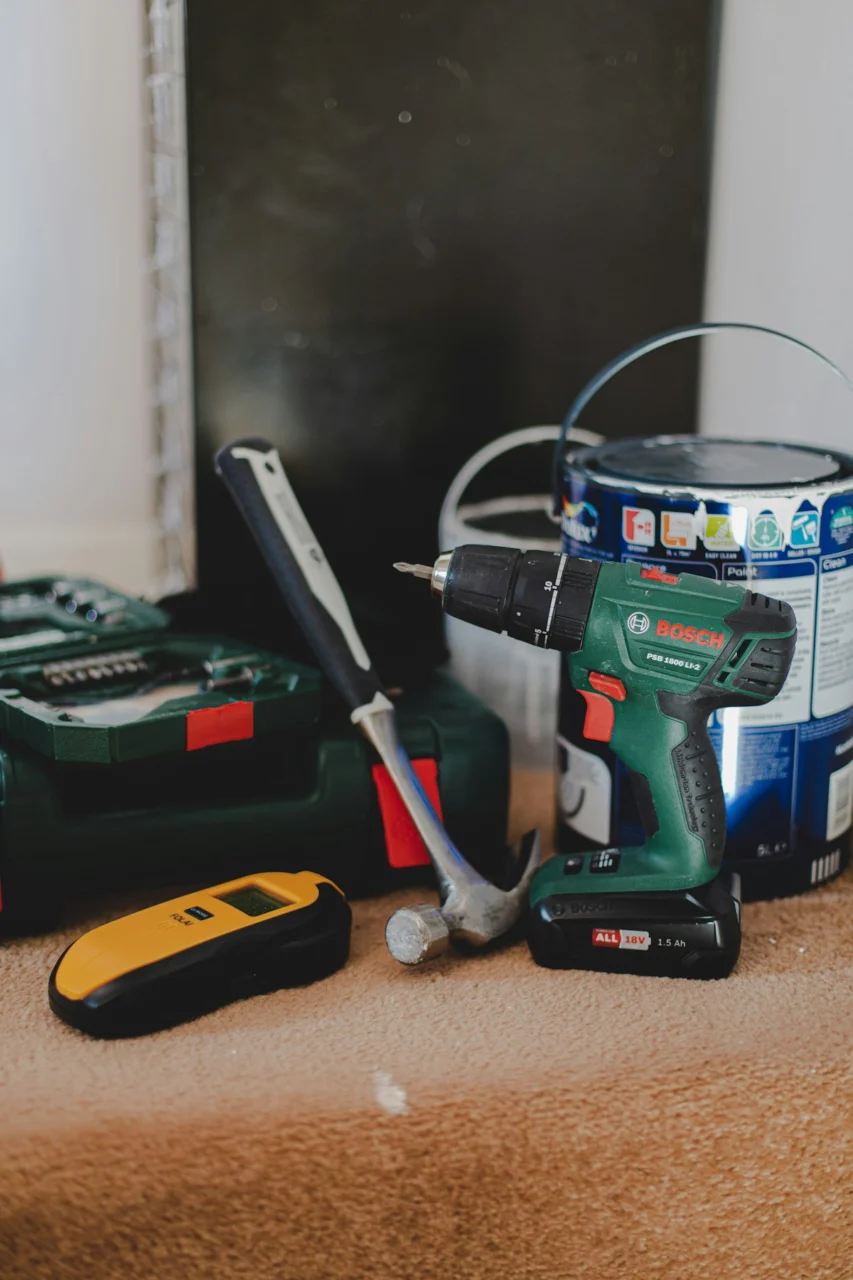
Photo by Sam Clarke on Unsplash
Western red cedar is the most common choice for outdoor projects because its natural oils repel insects and moisture. If you can locate a short board at a local lumberyard or a reclaimed pallet, you’ll already be saving on material costs. Aim for boards that are 1‑in. thick; this thickness provides enough depth for most small‑to‑medium plants without needing additional framing.
Essential tools are limited to a handsaw or inexpensive circular saw, a drill with a ¼‑inch spade bit (optional for drainage), a carpenter’s square, and a few clamps. A simple measuring tape and a pencil for marking cuts are all that’s required. By restricting the tool list, you avoid rental fees and keep the project truly cheap.
2. Simple Cut‑and‑Assemble Design for a Classic Box

Photo by Sebastian Schuster on Unsplash
Start by measuring the desired interior dimensions—common sizes are 12×12 inches for a windowsill or 24×12 inches for a patio edge. Cut two side pieces to the chosen length, two ends to the width, and a bottom panel that fits snugly inside the frame. The classic “box” method uses a simple butt joint: align the edges, apply a bead of exterior‑grade wood glue, and secure with two to three nails per corner.
Because cedar is relatively soft, a hammer and a few finishing nails are sufficient; you won’t need a complex joinery system. Once the frame is assembled, attach the bottom panel with the same glue‑and‑nail technique. The result is a sturdy, square or rectangular container that can be built in under an hour.
3. Add a Drainage Layer Without a Drill
Good drainage prevents water from pooling at the roots, a common cause of rot even in cedar. If you prefer to avoid drilling holes, line the interior with a piece of landscape fabric cut to size. Place a shallow layer of pea‑gravel (about an inch) on top of the fabric; the gravel creates a space for excess water to collect while the fabric keeps soil from washing into it.
When the planter sits on a solid surface, a small tray or saucer beneath the box catches any runoff, protecting indoor floors or patio tiles. This method eliminates the need for a drill, preserves the integrity of the cedar, and still provides reliable drainage.
4. Customize with Natural Finishes That Stay Affordable

Photo by Mikhail Pushkarev on Unsplash
While cedar looks attractive untreated, a light coat of penetrating oil or natural wax can enhance its grain and extend its lifespan. A simple mixture of boiled linseed oil and mineral spirits (available in most hardware stores) penetrates the wood without forming a thick film that could trap moisture.
Apply the finish with a clean cloth, let it soak for 15 minutes, then wipe away excess. Reapply once a year, especially after harsh weather, to maintain the wood’s color and water‑repellent qualities. Because the product is inexpensive and easy to apply, you keep the overall project cost low while adding a professional touch.
5. Positioning the Box for Light and Visual Balance
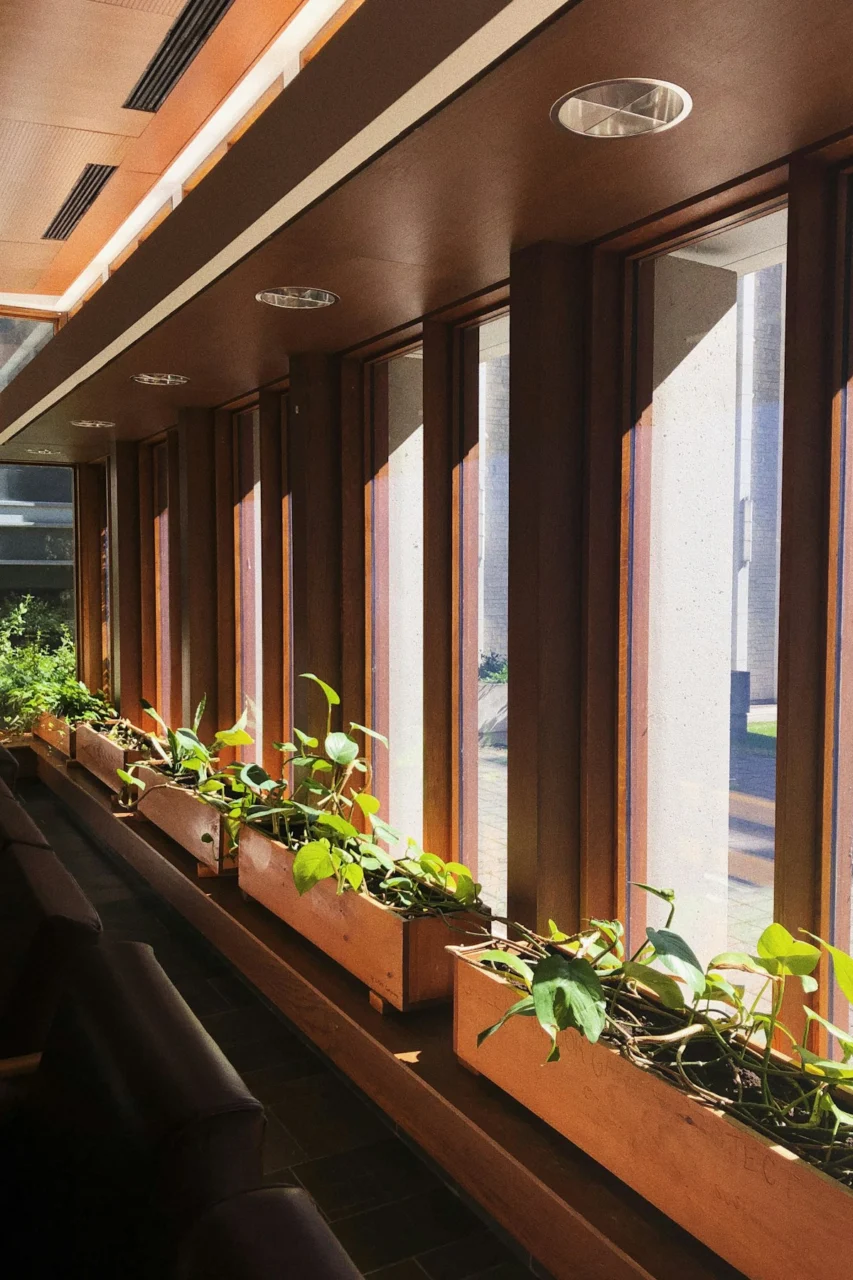
Photo by Namra Desai on Unsplash
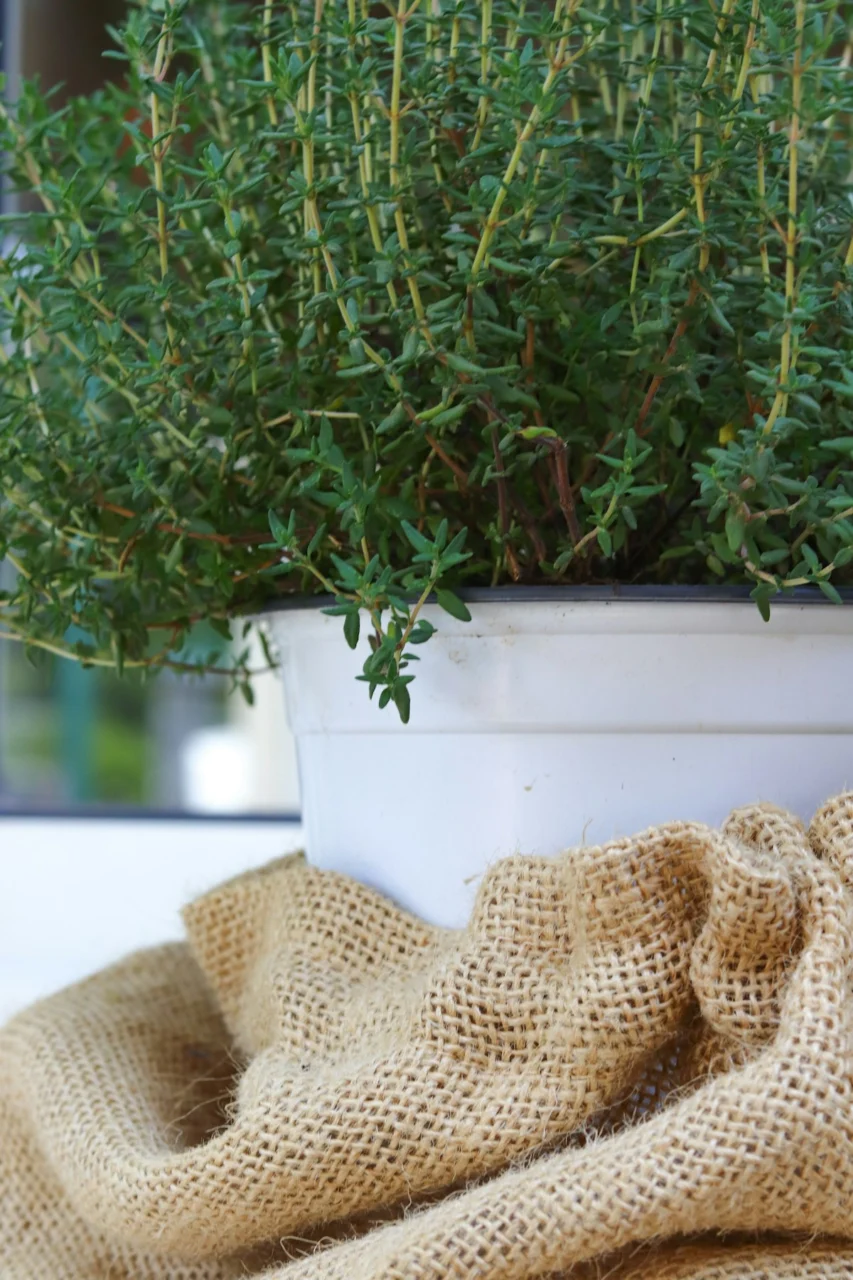
Location determines both plant health and the aesthetic impact of the cedar box. For sun‑loving herbs like basil or thyme, place the box where it receives at least six hours of direct sunlight. If the planter will serve as a decorative accent on a shaded balcony, choose shade‑tolerant foliage such as ferns or hostas.
Visually, a single cedar box can anchor a small grouping of pots, while a row of three or four creates a cohesive line that draws the eye along a railing or garden edge. Keep a consistent spacing of about two inches between boxes to allow air flow and to avoid a cramped appearance.
6. Low‑Maintenance Plant Pairings That Highlight Cedar
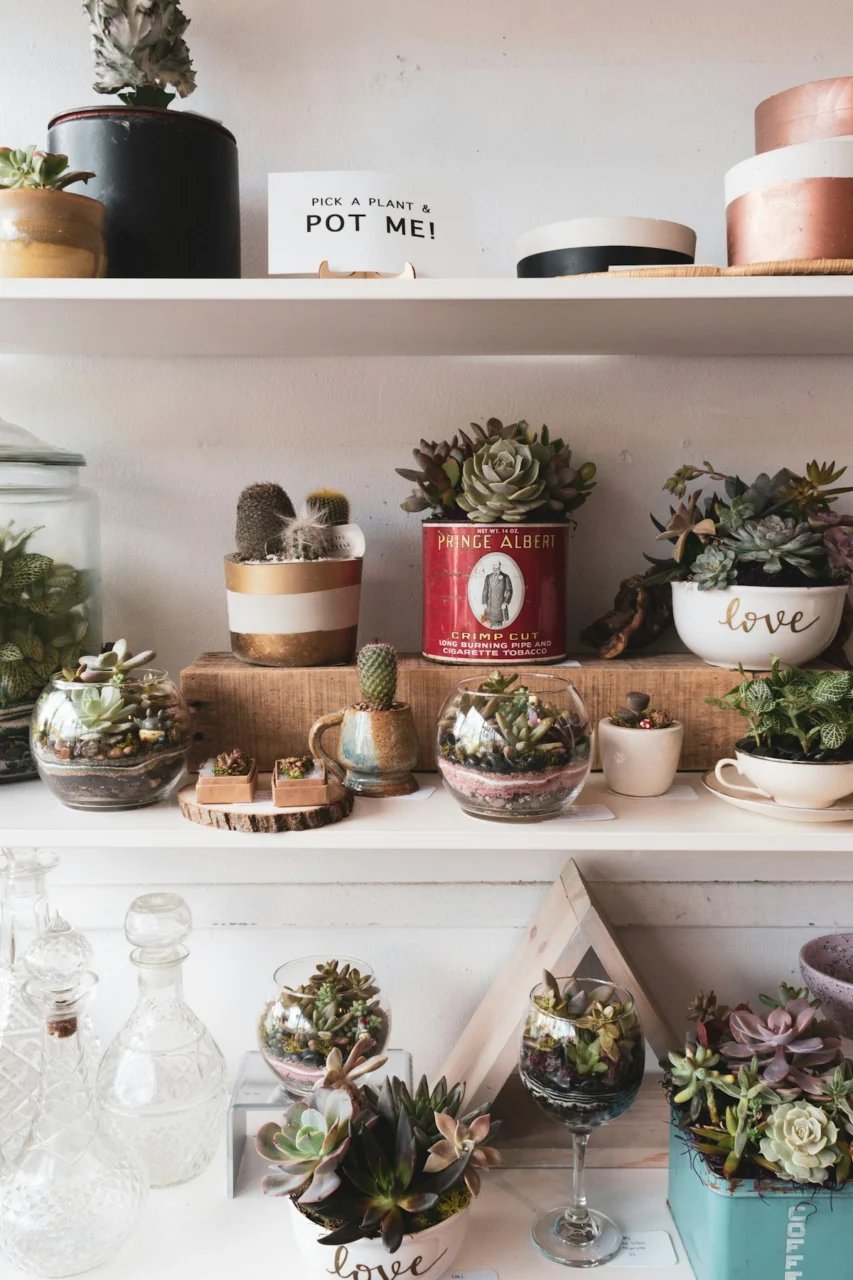
Because cedar’s warm, reddish hue pairs well with both green foliage and vibrant blooms, select plants that complement rather than compete. Succulents like echeveria or sedum add texture without demanding frequent watering. For seasonal color, plant dwarf marigolds or pansies; they fill the box with bright petals while staying compact.
If you prefer an evergreen look, consider dwarf boxwoods or rosemary. These plants maintain a tidy shape year‑round and their aromatic leaves echo cedar’s natural scent, creating a cohesive sensory experience.
7. Seasonal Tweaks That Keep the Box Fresh Year‑Round
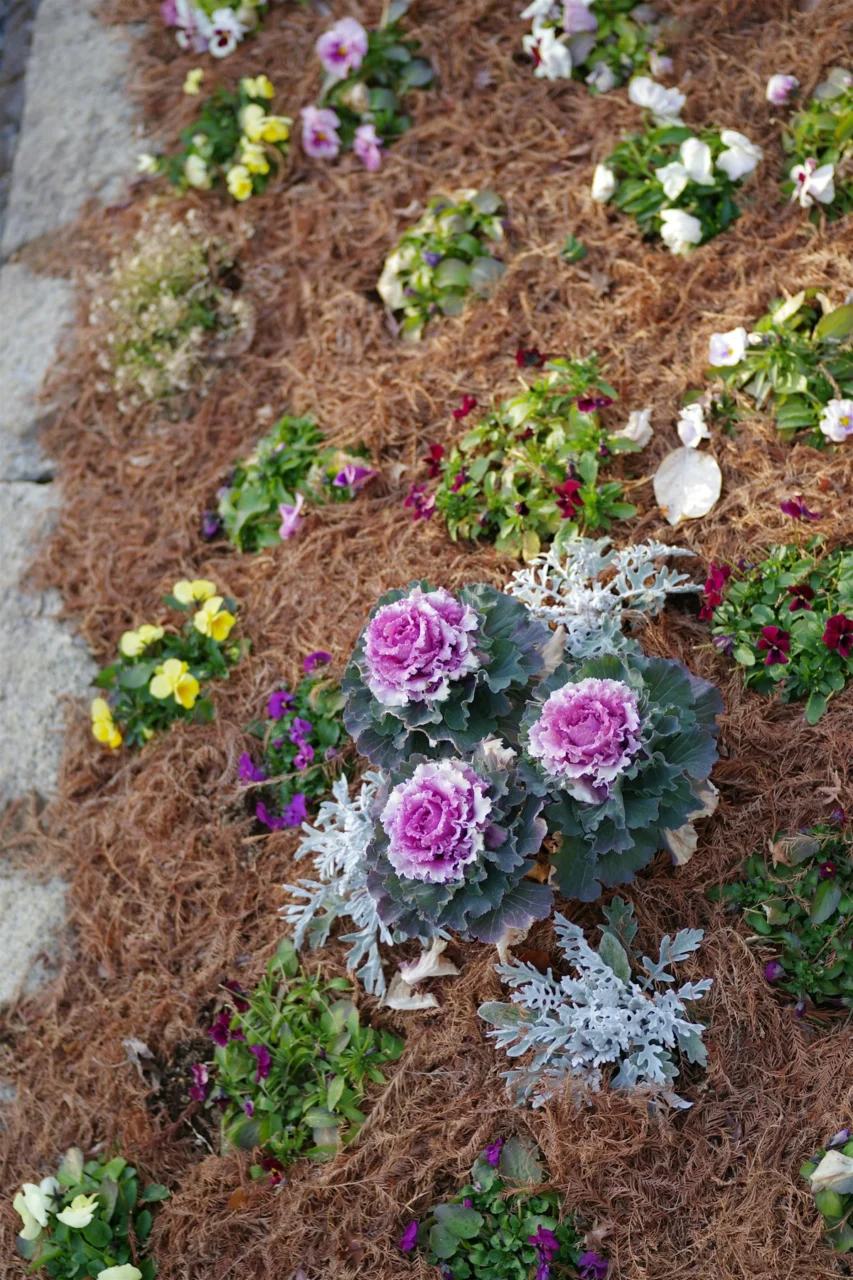
Photo by Naoki Suzuki on Unsplash
As the seasons change, a few simple adjustments can protect the cedar and keep the display interesting. In fall, scatter a thin layer of shredded bark on the soil surface; it insulates roots and adds a rustic visual cue. During winter, move the box to a sheltered spot or wrap the exterior with breathable garden fleece to guard against extreme freeze‑thaw cycles.
Spring offers an opportunity to refresh the planter’s look with a new coat of oil or a light sanded surface to reveal fresh grain. Adding a small garden flag or a set of mini lanterns can also transform the box into a focal point for outdoor gatherings without additional expense.
By following these seven ideas, you can build a durable cedar planter box that stays under five dollars per square foot, looks polished, and adapts to any garden style.
Frequently Asked Questions
Photo by Woliul Hasan on Unsplash
What thickness of cedar board is best for a small planter?
A 1‑inch thick board provides enough depth for most herbs and small flowers while keeping the overall weight manageable for balcony or windowsill use.
Do I need to treat cedar before placing it outdoors?
While cedar is naturally resistant to decay, a single coat of penetrating oil or wax extends its life and enhances the grain. Reapply annually for best results.
Can I use reclaimed cedar pallets for this project?
Yes, as long as the boards are free of nails, splinters, or heavy stains. Clean the surface, sand lightly, and apply a protective finish before assembly.
How often should I water plants in a cedar box without drainage holes?
Check the soil daily; water only when the top inch feels dry. The gravel layer helps excess moisture escape, reducing the risk of over‑watering.
Is cedar safe for edible plants?
Absolutely. Cedar’s natural oils are non‑toxic and many gardeners appreciate the subtle aroma it imparts to herbs like rosemary and thyme.
Ready to get started? With a few basic tools, a modest budget, and the right cedar, you can craft a planter that feels custom‑made and lasts for seasons to come. Happy building!