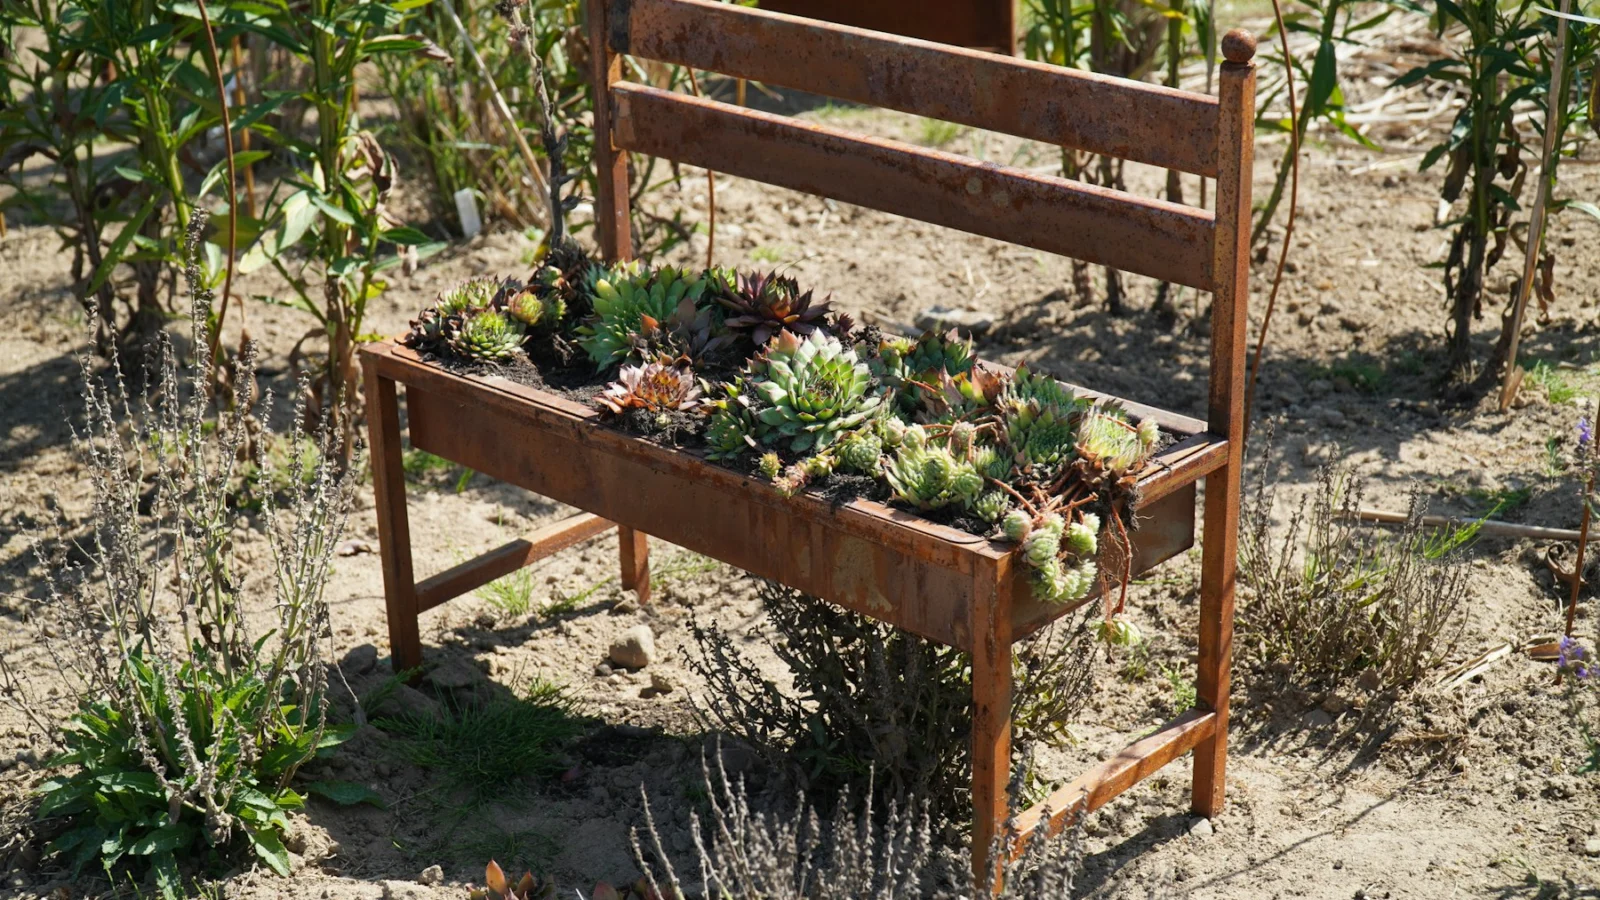
Inexpensive Raised Garden Bed Ideas on a Budget
If you’re standing in a yard with a patch of uneven soil and a modest budget, the quickest way to create a tidy, raised garden is to use materials that are already on hand or easy to acquire. The core answer is to build a frame that lifts the planting medium a foot or two off the ground, lines it with a permeable barrier, and fills it with a simple compost‑soil blend. Below are seven distinct approaches that balance cost, durability, and visual appeal.
1. Reclaimed Pallet Boxes
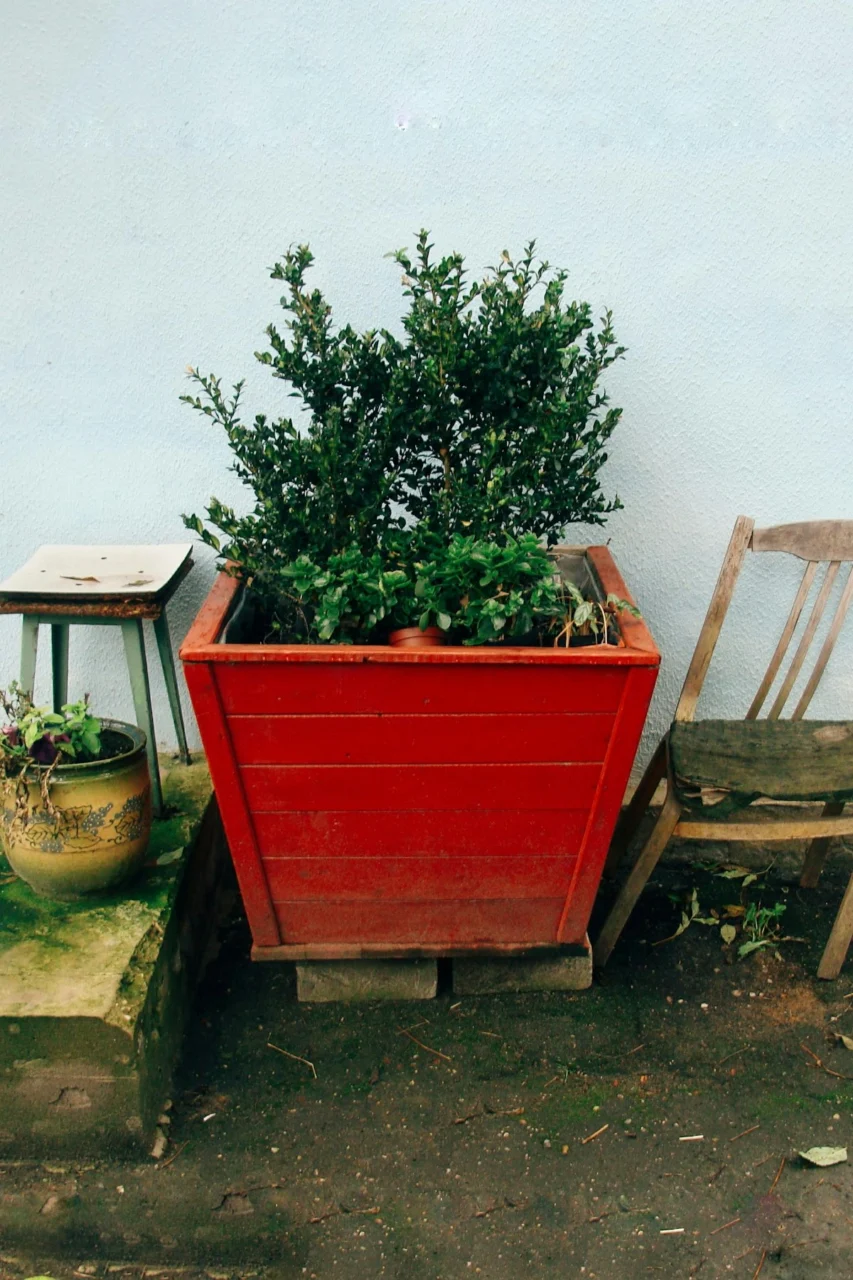
Two standard heat‑treated pallets (typically 48 × 40 inches) can be turned into a 40‑inch square box that sits about 12 inches high. Measure the slats, cut them to equal length, and fasten the corners with galvanized corner brackets or 1‑inch deck screws. For drainage, drill a row of ¼‑inch holes in the bottom slats and line the interior with a 6‑mil landscape fabric that allows water to escape while keeping soil in place.
Fill the box with a mix of equal parts compost, screened topsoil, and coarse sand. This ratio provides fertility, structure, and drainage without requiring specialty amendments. A common mistake is to rely on the pallet’s original nails; replace any rusted fasteners to avoid future weakening.
Budget swap: many grocery or hardware stores discard pallets for free. Verify that the pallets are marked “HT” (heat‑treated) rather than “MB” (methyl bromide) to avoid chemical residues. If the pallets are slightly warped, add a 1‑inch strip of untreated pine along the inside edges to keep the soil from spilling.
2. Concrete Block Grid
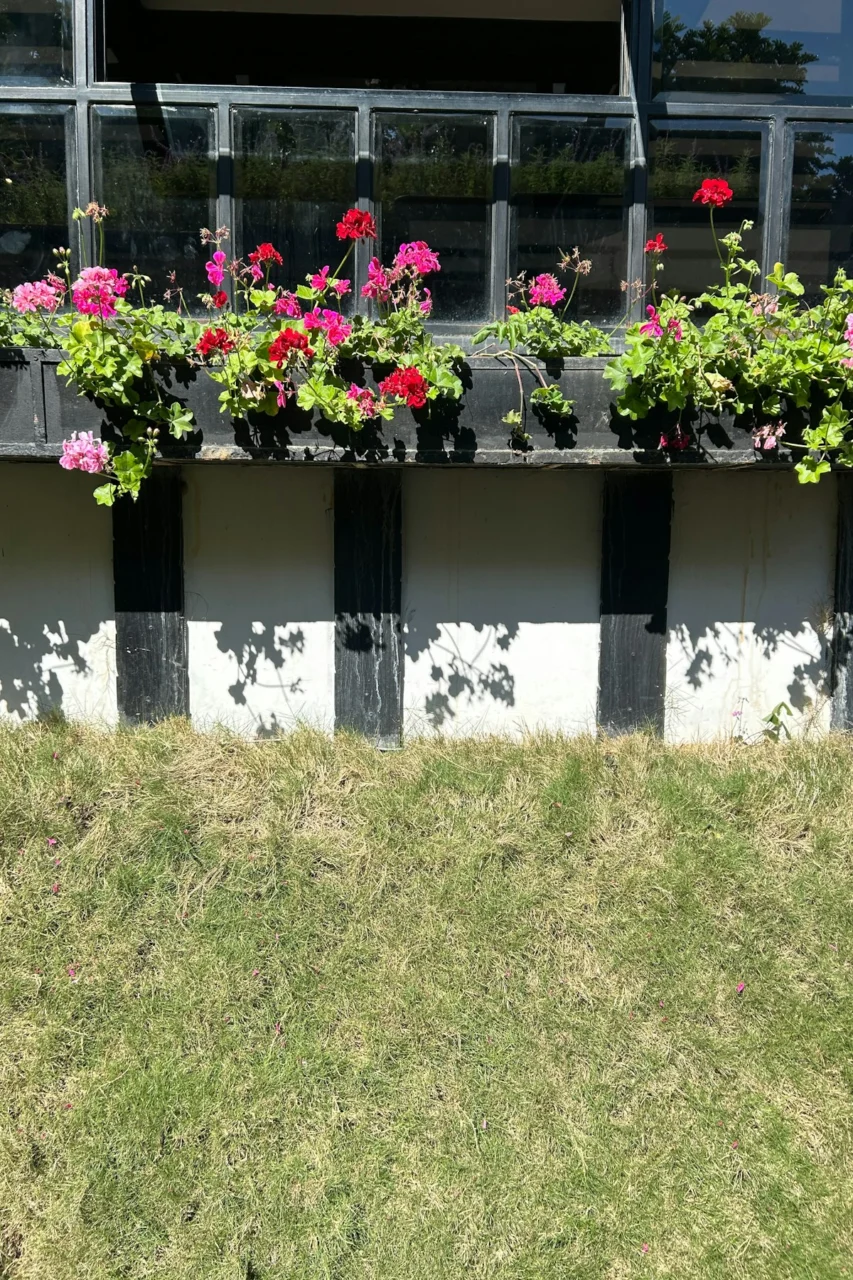
Standard concrete cinder blocks (16 × 8 × 8 inches) can be laid in a staggered pattern to form a low‑profile bed that runs the length of a garden row. Position the blocks on a weed‑blocking fabric and leave a 1‑inch gap between each block; this gap acts as a built‑in drainage channel. For a subtle colour lift, spray a coat of chalk paint in sage or terracotta and seal with a clear exterior sealant.
The finished height is roughly 8 inches, which works well for shallow‑rooted herbs and lettuce. Taller gardeners may find the low edge uncomfortable when bending, so consider adding a short stepping board made from reclaimed lumber.
Budget swap: reclaimed bricks from a demolition site can replace cinder blocks, but they weigh about 30 % more, so enlist a helper for placement. Ensure the base is level; an uneven foundation can cause the blocks to settle unevenly over time.
3. Cedar Slat Frame
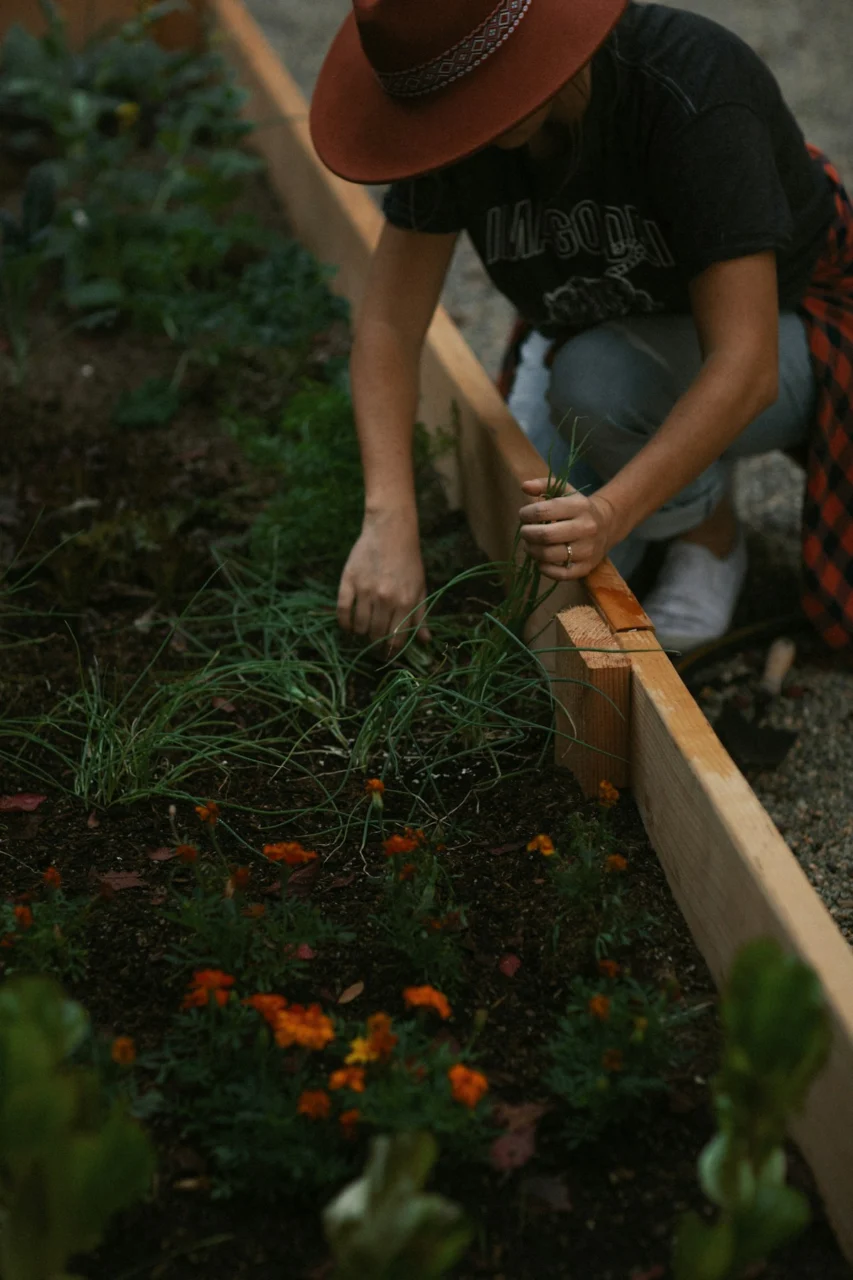
A four‑foot by four‑foot frame built from 2 × 4 cedar slats offers a classic look and natural rot resistance. Cut two slats to 48 inches for the long sides and two to 36 inches for the short ends. Join the corners with stainless‑steel corner brackets and reinforce with two 2‑inch deck screws per joint. Cedar’s honey‑tone adds warmth, and its oils protect the wood for several seasons without treatment.
Before filling, lay a 6‑mil landscape fabric liner and secure it with staples. Use a soil blend of one part compost, one part peat‑free potting mix, and one part coarse sand. This mixture stays loose enough for root expansion while holding moisture.
Keep the width under 48 inches so you can reach the centre from any side without stepping inside the bed. Space multiple beds at least 18 inches apart to allow a comfortable walkway for tools.
Budget swap: untreated pine can replace cedar if you apply a clear, water‑based sealant. The sealant will need reapplication every two to three years, but the initial material cost is lower.
4. Galvanized Metal Trough
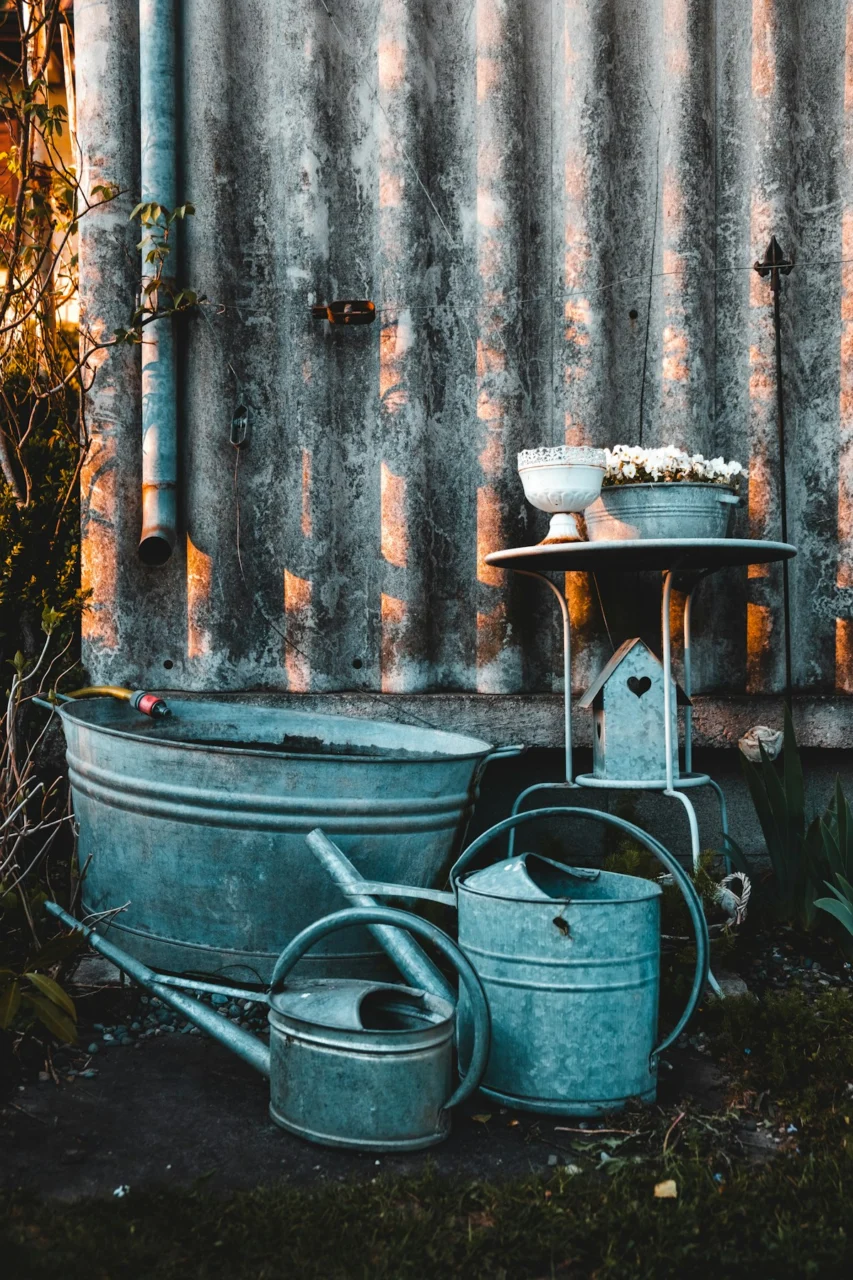
Photo by NIKLAS LINIGER on Unsplash
An old galvanized rain barrel or steel trough, cut to 6 feet long by 3 feet wide, creates a narrow, modern‑looking bed. Drill ¼‑inch drainage holes every six inches across the bottom, then line the interior with a piece of heavy‑weight burlap to keep soil from slipping through the holes.
Coat the exterior with a rust‑inhibiting paint in matte charcoal; this finish complements contemporary patio furniture while protecting the metal. The metal retains heat during cool mornings, which can advance seed germination by a few days. In hot afternoons, the surface may become warm enough to stress seedlings; a lightweight shade cloth positioned 2 feet above the trough reduces temperature spikes.
Budget swap: a large, used plastic storage bin offers similar dimensions without the heat‑retention benefit. If you choose plastic, verify that it is UV‑stable to avoid brittleness after a season of sun exposure.
5. Straw Bales
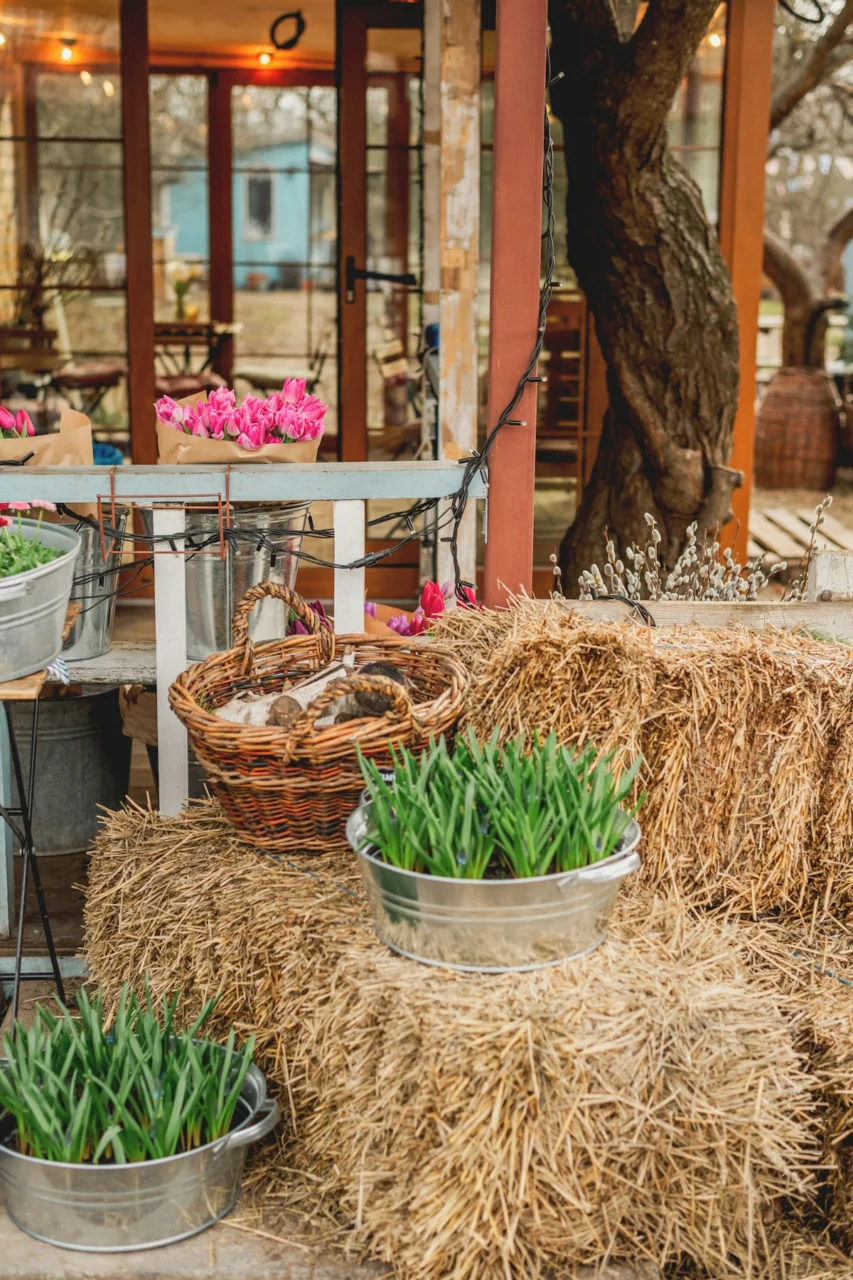
Photo by Eugenia Pan’kiv on Unsplash
Three to four tightly bound straw bales, each about 14 × 18 × 36 inches, can be stacked in a rectangle to form a temporary raised bed. Secure the bales with twine or garden twine at the corners, then line the interior with a layer of burlap before adding a rich compost mix.
The bales decompose over the growing season, releasing organic matter directly into the soil. Choose bales that are free of mold and have a clean, golden colour; dark or damp bales may harbor fungal spores.
Because the structure breaks down, it is best suited for annual vegetables such as beans, tomatoes, and lettuce. Planting deep‑rooted perennials like asparagus can cause the roots to outgrow the bale before it fully decomposes, leading to instability.
Budget tip: many farms sell straw bales for a few dollars each after the harvest. If you cannot find straw, consider using hay bales, but be aware that hay contains seed heads that may sprout unwanted grasses.
6. Plastic Storage Bin
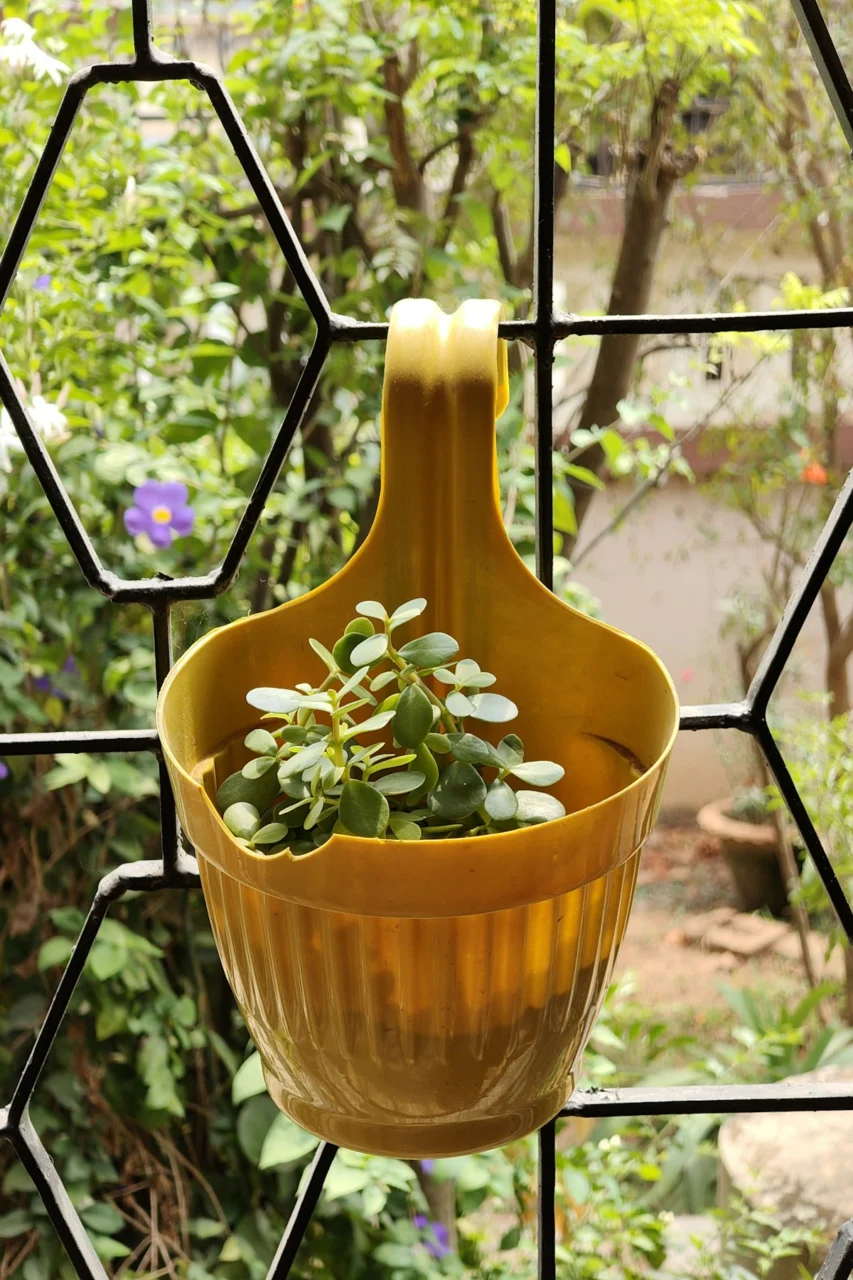
Photo by Miom _0326 on Unsplash
A sturdy plastic tote, typically 4 feet long, 2 feet wide, and 12 inches deep, works well on balconies, decks, or concrete slabs. Remove the lid, drill a grid of ¼‑inch holes spaced 2 inches apart, and place a sheet of recycled rubber mat at the bottom to protect the plastic from punctures.
White or muted‑green bins blend into most outdoor colour schemes, while a bright orange bin can serve as a visual cue for a children’s garden area. Fill the bin with a balanced soil mix, one part compost, one part peat‑free potting mix, one part coarse sand, and arrange rows parallel to the long side for easy access.
Because the bin is lightweight, it can be moved to catch seasonal sunlight or to protect plants from frost. Verify that the plastic is labeled “UV‑stable” to prevent cracking after prolonged exposure.
Budget swap: a used moving box from a community swap can be repurposed, but reinforce the bottom with a layer of plywood if the original plastic is thin.
7. Brick Veneer Edge
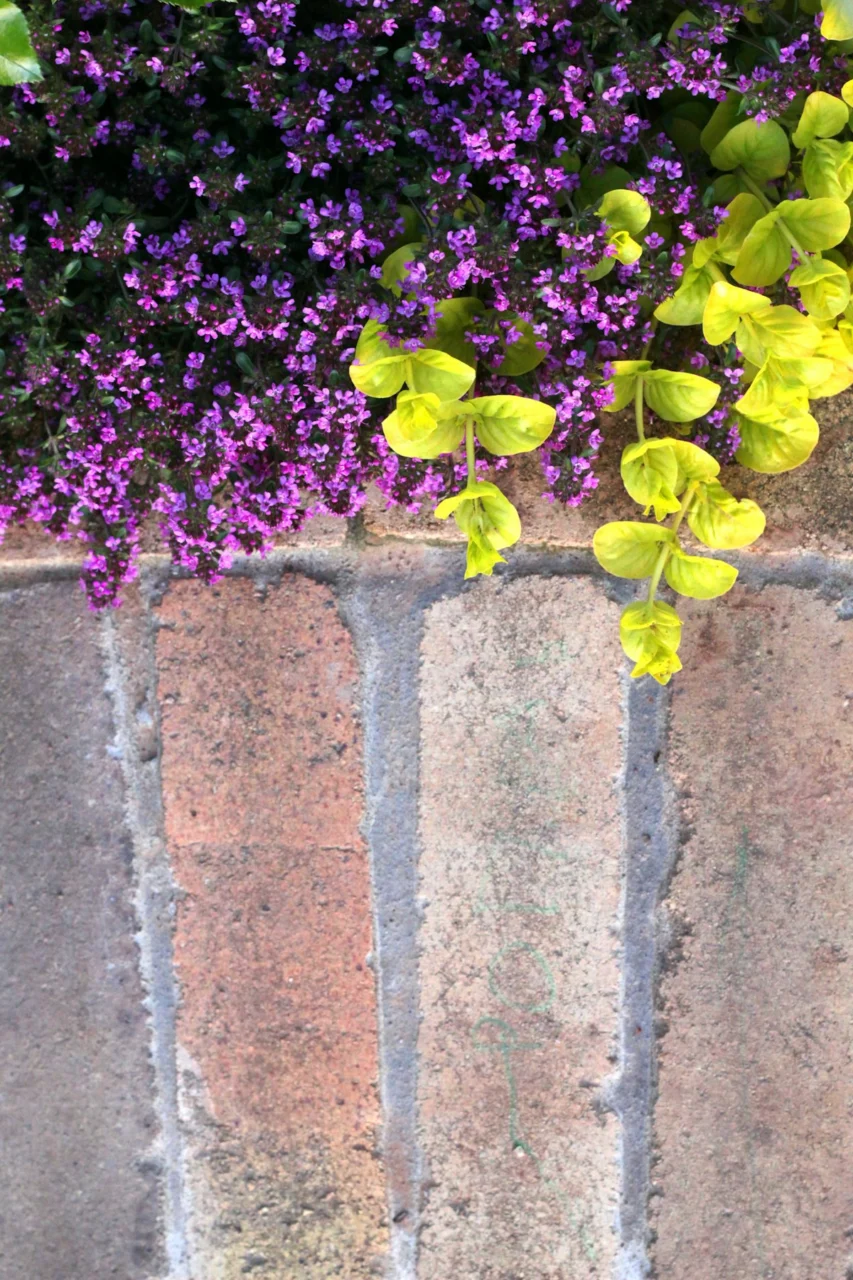
Photo by Mary Ladygina on Unsplash
Laying a single course of reclaimed brick around a wooden frame creates a clean, finished edge without the expense of a full brick wall. Use bricks that are 8 inches long, 3 inches high, and 2 inches deep. Set a bed of sand on a level base, press each brick firmly into the sand, and stagger the joints for stability.
The veneer can be left in its natural red, painted in muted oatmeal, or sealed with a clear masonry sealer to resist weathering. Because the bricks are only one course high, the interior soil depth remains unchanged, allowing you to use the same soil mix as in other beds.
Installation requires a flat, compacted surface; an uneven base will cause the bricks to shift over time. Beginners may find the alignment process time‑consuming, but the visual payoff is a defined transition between garden and patio.
Budget swap: salvaged brick pavers from a local reclamation yard often cost less than new bricks and already have a weathered look that reduces the need for sealing.
| Idea | Typical Cost | Durability | Best For |
|---|---|---|---|
| Pallet Box | Low (free pallets) | Moderate (reinforce corners) | Small vegetable plots |
| Concrete Block | Low‑moderate | High | Long, linear beds |
| Cedar Slat | Moderate | High (natural rot resistance) | Raised beds up to 12‑inch height |
| Metal Trough | Moderate | High | Sunny spots needing heat |
| Straw Bales | Very low | Temporary | Seasonal vegetables |
| Plastic Bin | Low‑moderate | High (UV‑stable) | Balcony or patio |
| Brick Veneer | Moderate‑high | High | Garden edges with a finished look |
Frequently Asked Questions
How deep should a raised garden bed be for vegetables?
Most vegetables grow well in a depth of 12 to 18 inches. This range accommodates root development while keeping the amount of soil needed manageable for low‑cost builds.
Can a raised bed be placed on a concrete patio?
Yes, provided the bed includes a protective liner such as landscape fabric, a rubber mat, or a thin layer of cardboard. The liner prevents moisture from seeping into the concrete and reduces the risk of mold formation.
What soil mix works best in low‑cost raised beds?
A blend of one part compost, one part peat‑free potting mix, and one part coarse sand offers good drainage, fertility, and structure without requiring specialty amendments.
How can I reduce weeds in a budget‑friendly raised bed?
Lay a thin layer of cardboard or several sheets of newspaper on the bottom before adding the soil. This suppresses existing weeds while still allowing water to pass through.
Are raised beds safe for children and pets?
Using smooth‑finished wood, plastic, or metal reduces the chance of splinters or sharp edges. Keeping the height at 12 inches or lower makes supervision easier, and a low fence can deter pets from digging.
Final Thoughts
Select the method that matches your space, the amount of effort you’re ready to invest, and how long you want the bed to last. A simple pallet box or plastic tote can be assembled in an afternoon and provide immediate planting space. For a longer‑term solution with a more polished appearance, consider a cedar frame or brick veneer. Each option balances cost, durability, and aesthetic, allowing you to start growing without a large upfront expense.