Double Shower Ideas for a Luxe Bathroom
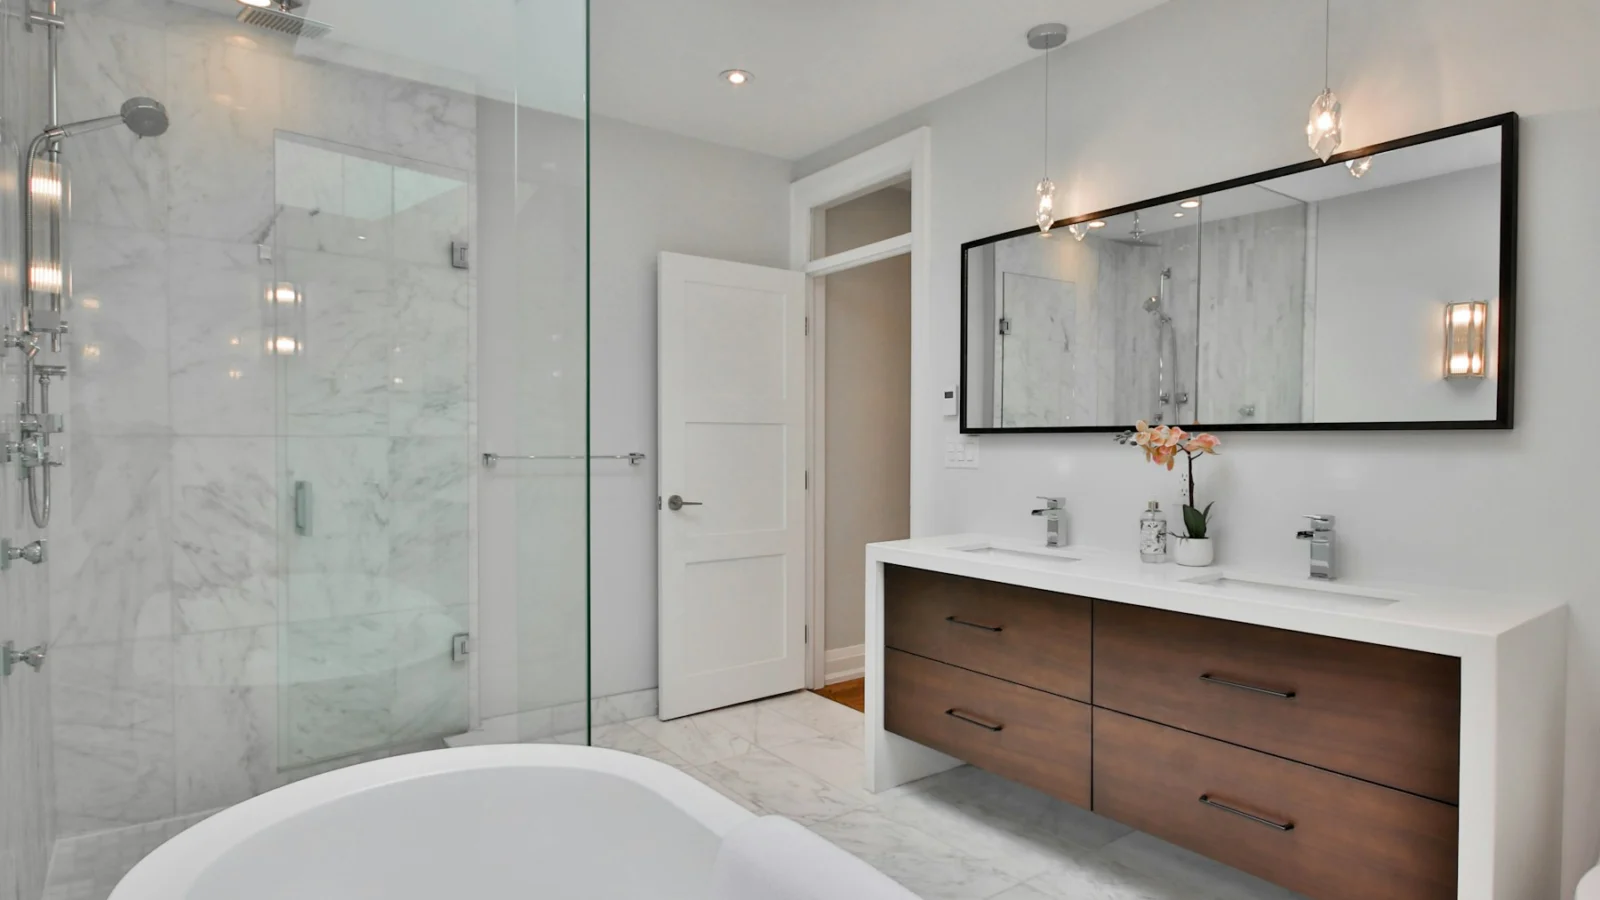
If you are renovating a master bath and want two people to shower at the same time without compromising style, the first step is to plan how the two stalls will coexist. A clear zoning strategy, usually a glass divider combined with distinct floor and wall treatments, keeps the space functional and visually balanced.
The following seven ideas show how to treat each shower as its own zone while preserving a cohesive look. Materials, dimensions, and practical trade‑offs are included so you can decide which details fit your budget and layout.
1. Separate the Two Showers with a Full‑Height Glass Partition
A floor‑to‑ceiling glass wall, typically 84 in. tall, creates a sleek divider while allowing natural light to travel across the room. Clear tempered glass maintains an open feel; a subtle pearl‑frost finish adds privacy without darkening the space. Mount the panel on brushed‑brass brackets that match other hardware such as towel‑bar hinges and faucet finishes.
For durability, choose glass at least ¼ in. thick and specify a low‑iron composition to reduce green tint. A common mistake is installing a thin acrylic sheet that scratches easily and fogs with temperature changes. A budget‑friendly swap is laminated safety glass, which meets the same thickness requirement but costs less.
Seal the perimeter with a high‑quality silicone that tolerates constant moisture. If the bathroom is a rental, consider a frameless system that can be removed without damaging surrounding walls.
2. Give Each Stall Its Own Floor Treatment
Distinct flooring cues reinforce the separate zones. On one side, lay large‑format matte porcelain tiles in a charcoal hue, measuring 24 in. × 24 in. The dark tone grounds the space and hides minor water spots. On the opposite side, use warm oat‑colored natural stone, such as honed limestone, cut to 12 in. × 12 in. squares.
Both surfaces should carry a slip‑resistant rating of at least 0.6 (R‑value) when wet. Light‑gray grout, no wider than ¼ in., creates a subtle line that ties the two areas together. An error to avoid is selecting a high‑gloss stone that becomes slick; a honed finish retains texture while looking refined.
Maintain a 6‑in. clearance between the glass partition and the edge of each floor finish. This gap provides room for a mop or small vacuum and prevents grout from cracking due to movement.
3. Mix Showerhead Styles to Create Functional Contrast

Photo by Tamara Harhai on Unsplash
Pairing a rain‑shower head with a handheld sprayer offers both a gentle cascade and targeted rinsing. Install the rain head in a brushed‑brass finish on the larger stall, positioning it 80 in. above the floor for even coverage. Mount the handheld on the opposite wall at 70 in., using an adjustable arm that can swing 120°.
The two fixtures share a dual‑handle diverter valve, which adds modest plumbing complexity but allows each user to select their preferred mode without reaching across the partition. If the budget does not allow a diverter, a single rain head with a detachable handheld attachment can be a practical compromise.
| Feature | Rain Head | Handheld |
|---|---|---|
| Typical flow | 2.5 gpm | 2.0 gpm |
| Installation height | 80 in. | 70 in. |
| Finish options | Brushed brass, matte black | Matte black, polished chrome |
| Space requirement | Ceiling or wall mount | Wall‑mounted arm |
When installing, follow the manufacturer’s instructions for sealing connections and ensure the valve is accessible for future maintenance.
4. Add a Shared Bench That Serves Both Users
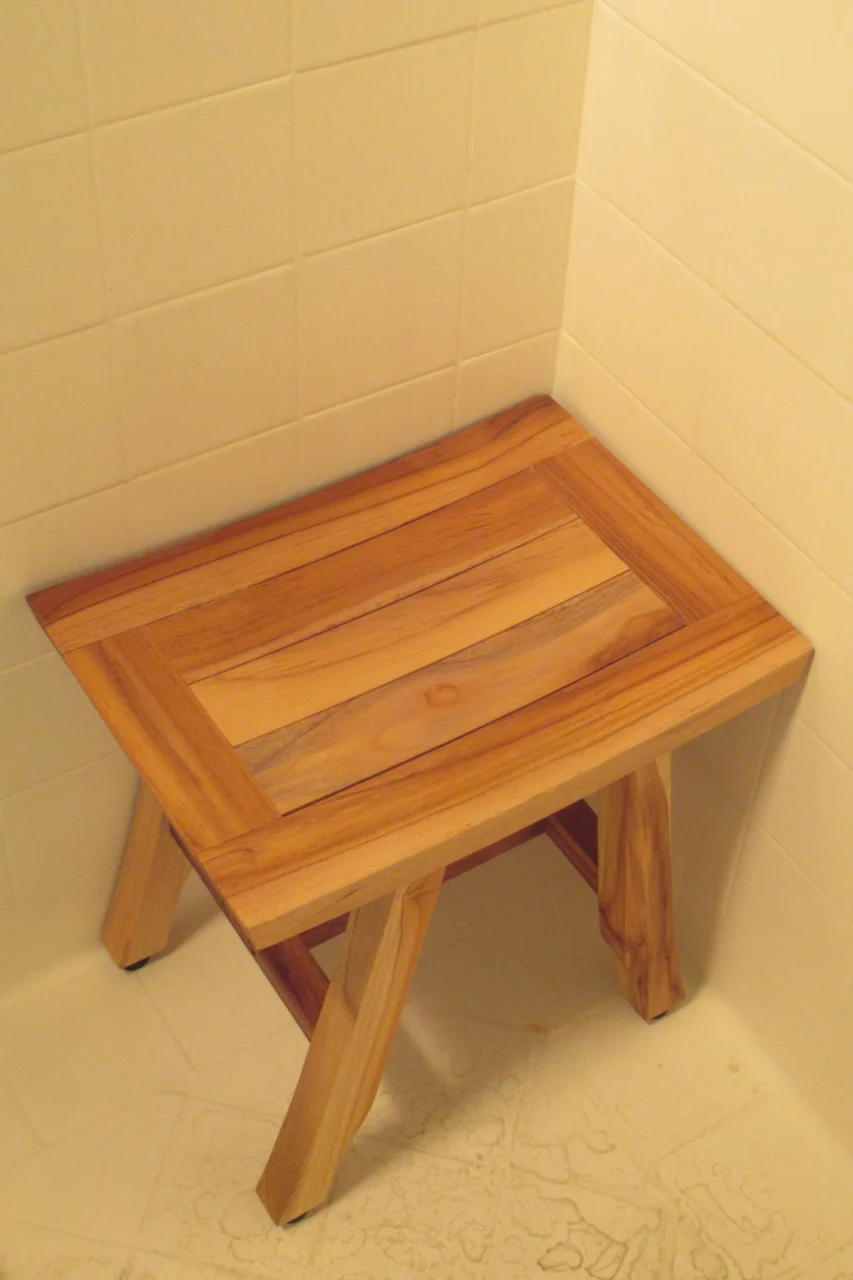
Photo by Steve Sharp on Unsplash
A recessed bench that spans the width of the partition offers a place to sit, rest toiletries, and keep the floor dry. Construct the bench from waterproof teak, which resists moisture and ages to a soft patina, or from a slab of honed marble for a more formal look. Keep the depth at 12 in. and the height at 18 in., which is comfortable for most adults without encroaching on walkways.
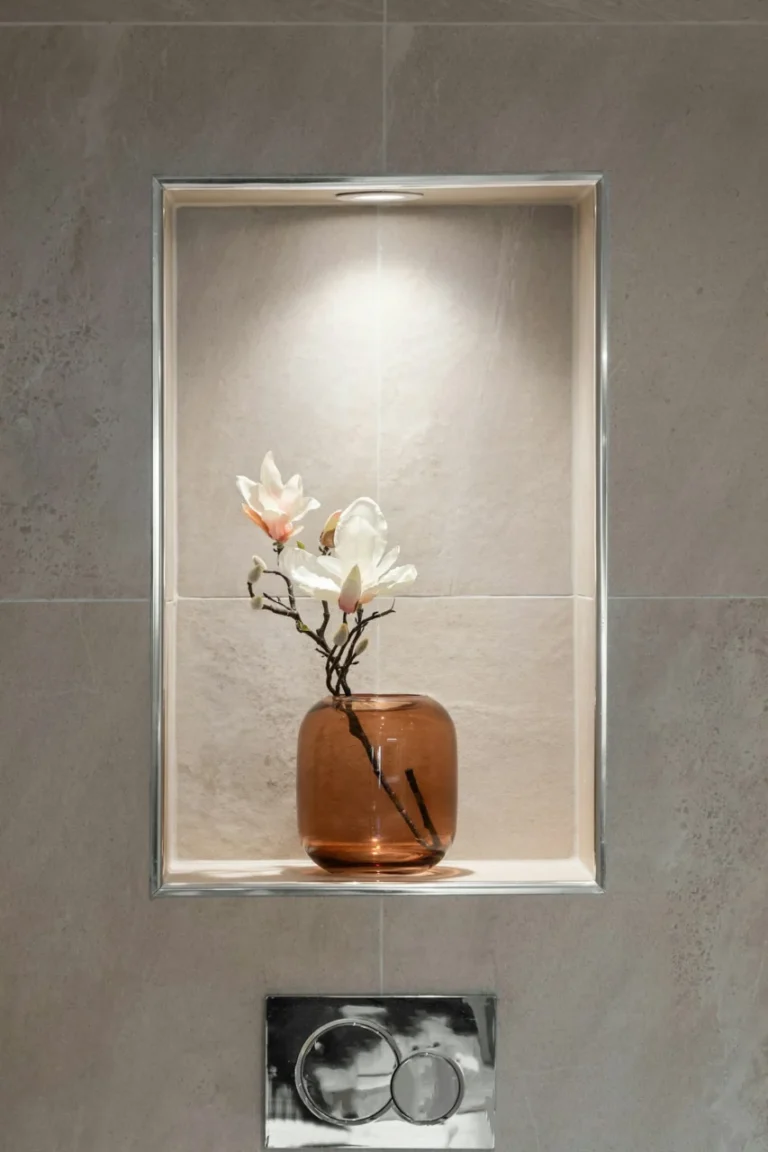
Integrate a built‑in niche on the back wall of the bench, measuring 24 in. × 12 in., and line it with a water‑proof acrylic panel. This niche holds shampoo bottles and a small basket for towels. Seal all joints with marine‑grade silicone to prevent water infiltration.
In tighter bathrooms, a freestanding teak stool that slides under the bench when not in use can preserve floor space. The trade‑off is reduced storage, but the flexibility may be worth it in a compact layout.
5. Layer Lighting So Each Shower Has Its Own Mood
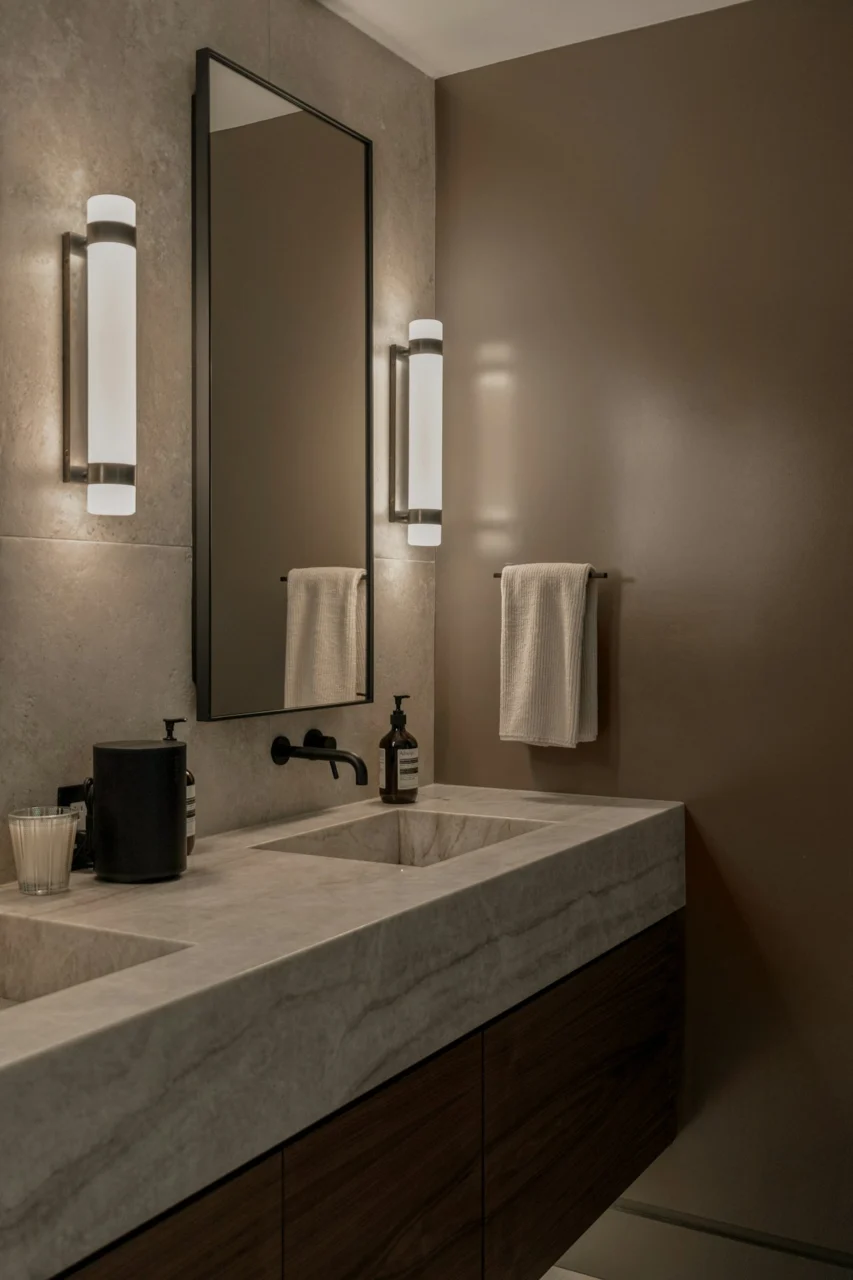
Photo by Peter Muniz on Unsplash
Recessed LED downlights above each shower entrance set the tone for the space. Choose warm‑white LEDs (around 2700 K) for a soft glow that mimics early‑morning light. Position each fixture 6 in. back from the wall to avoid glare on the glass partition and to keep the trim clear of steam.
Maintain at least 12 in. clearance between the light housing and the showerhead to prevent moisture from reaching the fixture. If the ceiling height allows, add a second row of dimmable LEDs at 24 in. height to illuminate the bench area without harsh shadows.
For a cost‑effective solution, select a standard LED trim with a protective silicone gasket rather than a fully waterproof rated unit. Always verify that the chosen fixture is rated for damp locations (IP44 or higher) and that wiring complies with local electrical codes.
6. Use Color Blocking on the Tile Walls to Define the Spaces
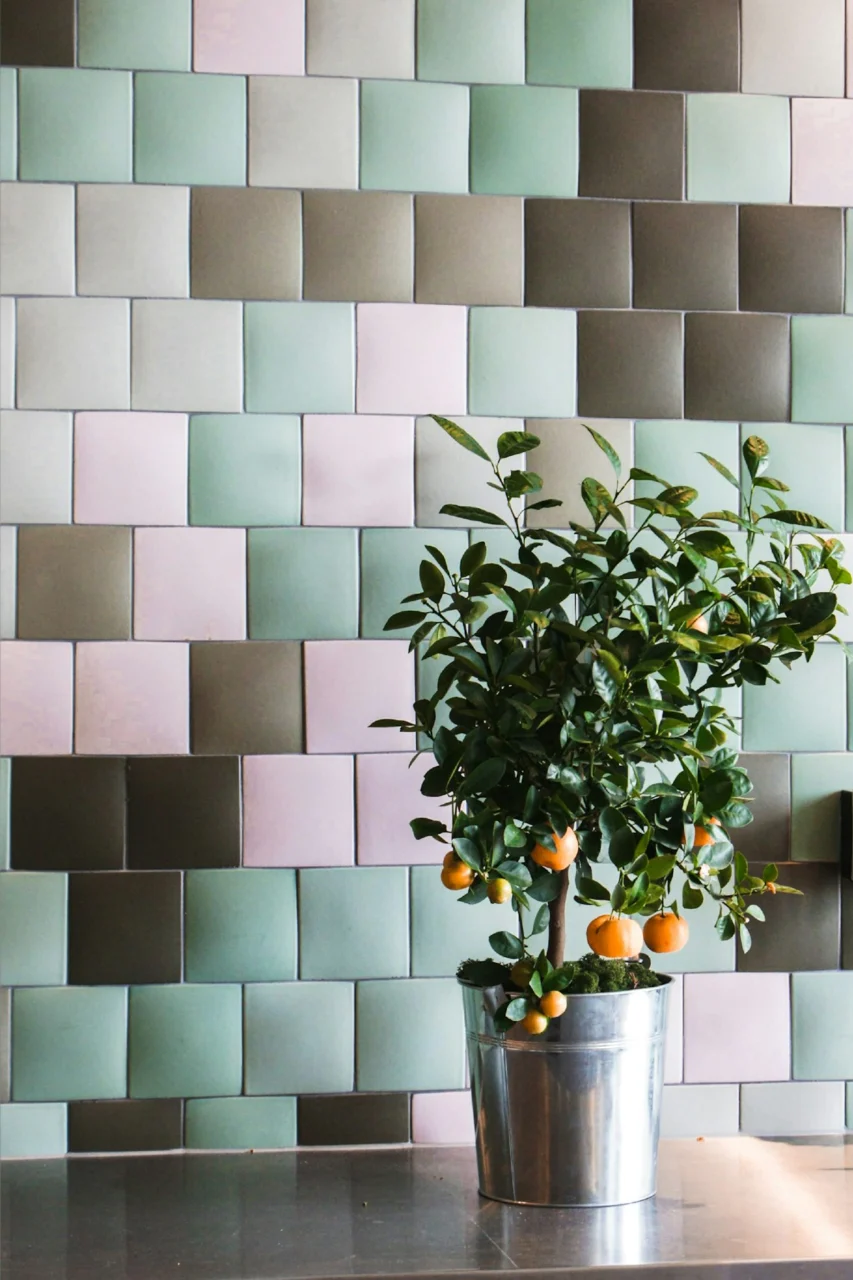
Photo by Pauline Loroy on Unsplash
Applying complementary tile colors to each stall’s primary wall creates visual separation while keeping the overall palette harmonious. On one side, install large‑format sage‑green tiles (18 in. × 36 in.) in a matte finish; the cool tone pairs well with charcoal floor tiles. On the opposite side, use terracotta subway tiles (3 in. × 6 in.) arranged in a staggered brick pattern for warmth.
Keep grout a neutral light gray (around 150 lb/ft²) to let the colors stand out without clashing. Limit the bold pattern to a single accent wall per stall; covering all walls can overwhelm the eye and make the room feel smaller.
If premium tiles exceed the budget, consider paintable waterproof wall panels that mimic the same hues. Panels can be cut to size and sealed with a clear acrylic coat for added durability.
7. Consider Making One Side a Steam Enclosure While Keeping the Other a Wet‑Room
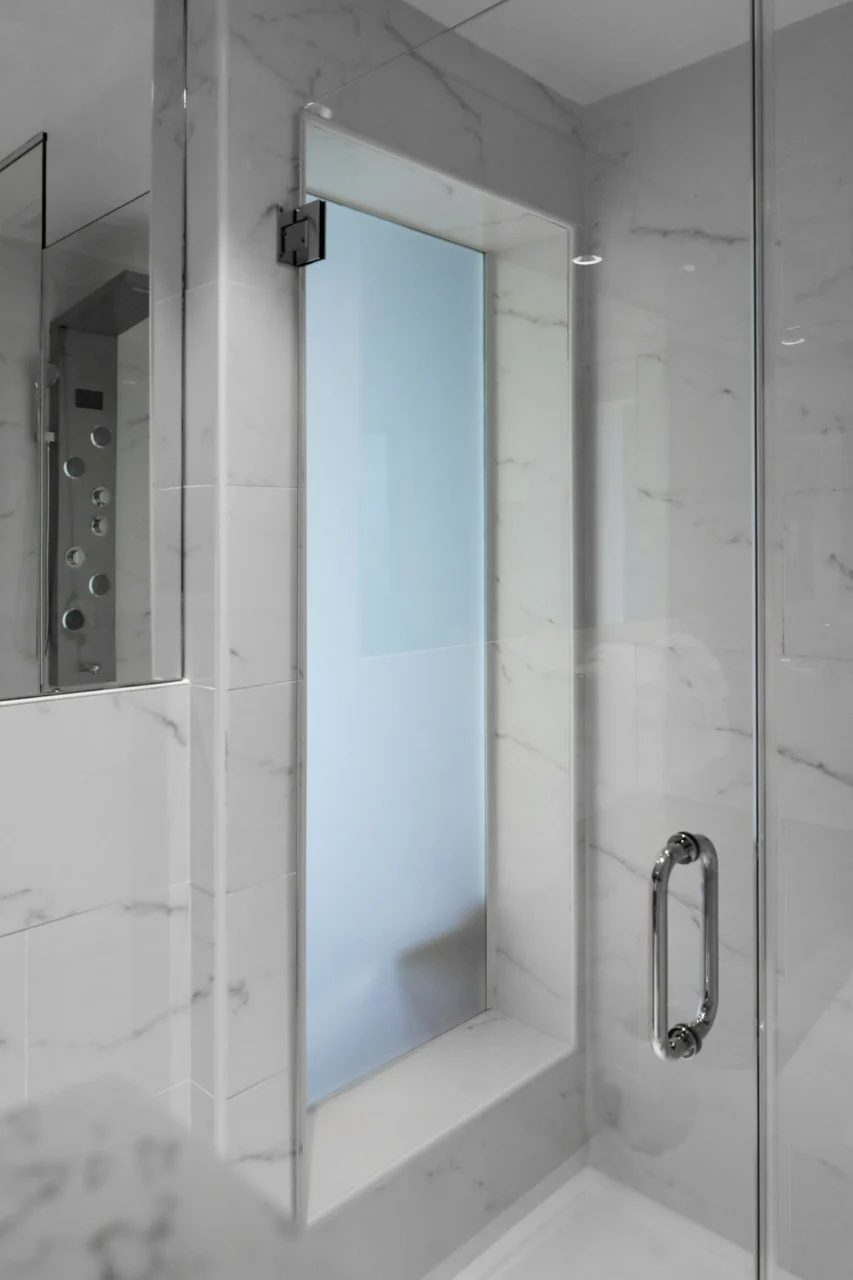
Photo by Rosemary Media on Unsplash
Designating one shower as a steam suite adds a spa‑like experience for the user who enjoys heat therapy. Install a sealed glass door with a built‑in steam head, and line the interior with a vapor‑barrier membrane that extends at least 6 in. above the ceiling line. Choose brushed stainless trim for the steam area because it resists corrosion from constant humidity.
The opposite side can remain an open wet‑room with a simple glass panel and matte ceramic tiles that drain quickly. A dedicated exhaust fan, rated for at least 100 cfm, should be installed near the steam enclosure to manage moisture levels.
The main trade‑off is higher installation cost and the need for professional ventilation work. A budget‑friendly alternative is a portable steam generator placed on a waterproof shelf within the shower; it provides occasional steam but does not heat the entire enclosure uniformly.
Frequently Asked Questions
How much space should I leave between two shower stalls?
Allow at least 24 in. of clear floor space between the edges of each stall. This clearance accommodates movement, cleaning tools, and helps prevent water from pooling at the partition.
Can I install a double shower in a small bathroom?
Yes, by using compact glass partitions, a shared bench, and streamlined fixtures. A single‑wall enclosure on one side and a wet‑room layout on the other maximize usable area while preserving separate zones.
What waterproofing steps are essential for two adjacent showers?
Apply a continuous liquid‑applied membrane behind all tile work, extend it at least 6 in. up the walls, and seal the glass partition with silicone. Proper sealing around niches and benches is also crucial.
Is it okay to share a single drain for both showers?
A single linear drain can serve both stalls if the floor slope directs water toward it. Verify that the drain’s capacity meets the combined flow rate of both showerheads and that the slope is at least 1/4 in. per foot.
How do I keep the look cohesive without making the room feel busy?
Limit contrasting elements to two or three and repeat a neutral tone, such as light‑gray grout or brushed‑brass hardware, across both sides. Repetition ties the spaces together while preserving individuality.
Final Thoughts
Begin with a clear zoning strategy, whether a full‑height glass partition or distinct flooring, to give each shower its own identity. From there, layer complementary fixtures, lighting, and texture, balancing visual interest with practical considerations. Choose the ideas that match your space, budget, and lifestyle, and let the bathroom evolve one thoughtful detail at a time.